
Troubleshooting During the Build
Stuck while building your Roversa? Here are fixes for the most common problems.
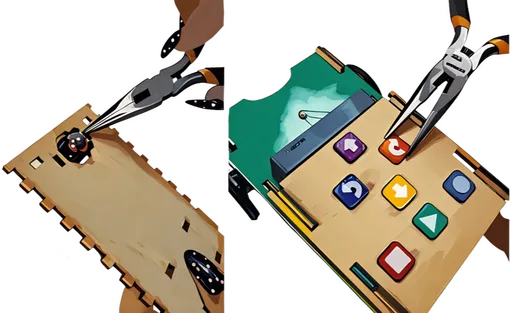
The pieces are too tight to fit together
- Ensure pieces are properly aligned before pressing them together.
- Try connecting one end first to help guide the tabs.
- Use small tools (screwdriver, tweezers, needle nose pliers) for extra leverage.
- If still too tight, gently tap with a mallet over a cloth to avoid damage to electronics.
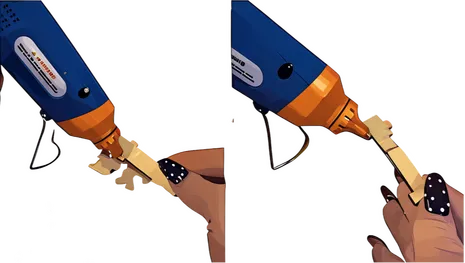
The pieces are too loose to fit together
- Fully build the robot, then remove the bottom panel for stability.
- Apply hot glue or wood glue along the inside edges.
- Clamp or weigh down the robot if using wood glue and allow to dry overnight.
- Reattach the bottom piece with glue on the tabs and let dry.
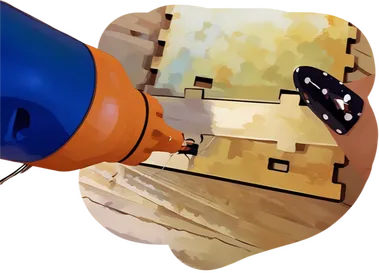
There are gaps between wood pieces
- Check for wires or wood chips blocking the tabs.
- If nothing is blocking them, refer to the “too tight” section.
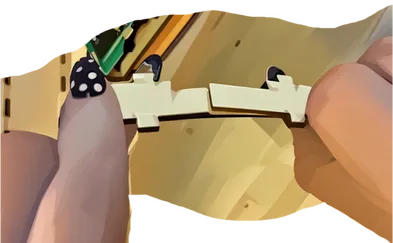
I broke a part!
- Small chips/tabs: assemble as normal and check sturdiness.
- Large wooden parts: repair with wood glue.
- Plastic/3D printed parts: use hot glue or super glue.
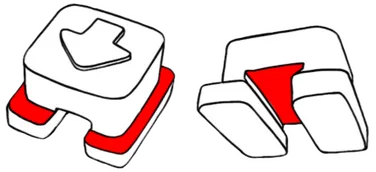
The buttons won’t stay on
- The small slots on each of the buttons should be slid onto the circuit board.
- Use the keyboard cover and line up the buttons with their associated cutout on the cover.
- The keyboard cover will keep the buttons in place after assembly.
Already built?
Once Roversa is built, find fixes for problems with movement, buttons, power and more.