
MakeCode Guide
Roversa allows students to progress from simple computer science concepts like sequences and directional language to more advanced concepts in a unified environment. You can use the MakeCode extension to introduce students to more advanced computer science concepts like loops, conditions and variables, as they reprogram the buttons on Roversa.
Be sure to check out the Challenge Cards for video tutorials for all the steps below!
Add the Roversa extension
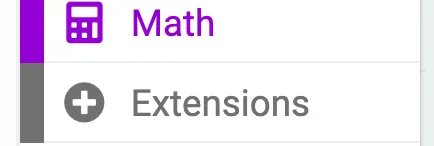
Open the MakeCode Editor and select Extensions from the menu.
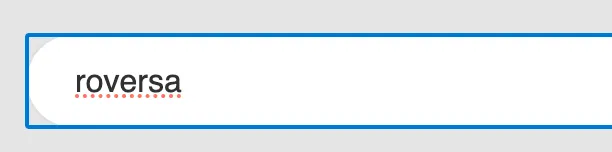
Type roversa into the search box.
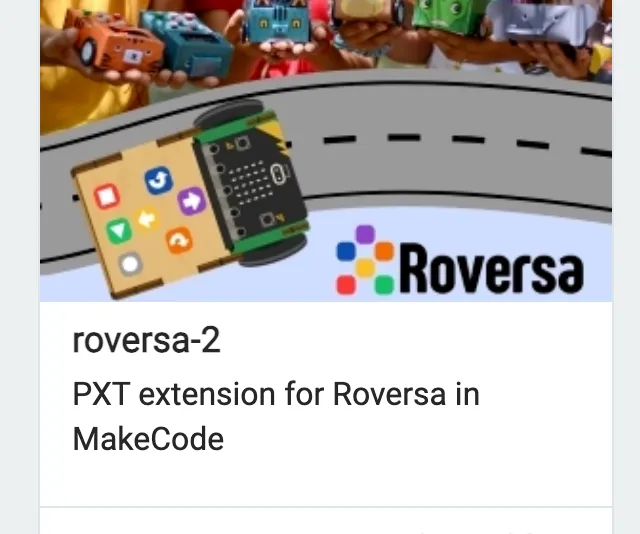
Select the roversa extension.
Roversa blocks
With the Roversa blocks you can update what any of the buttons do.
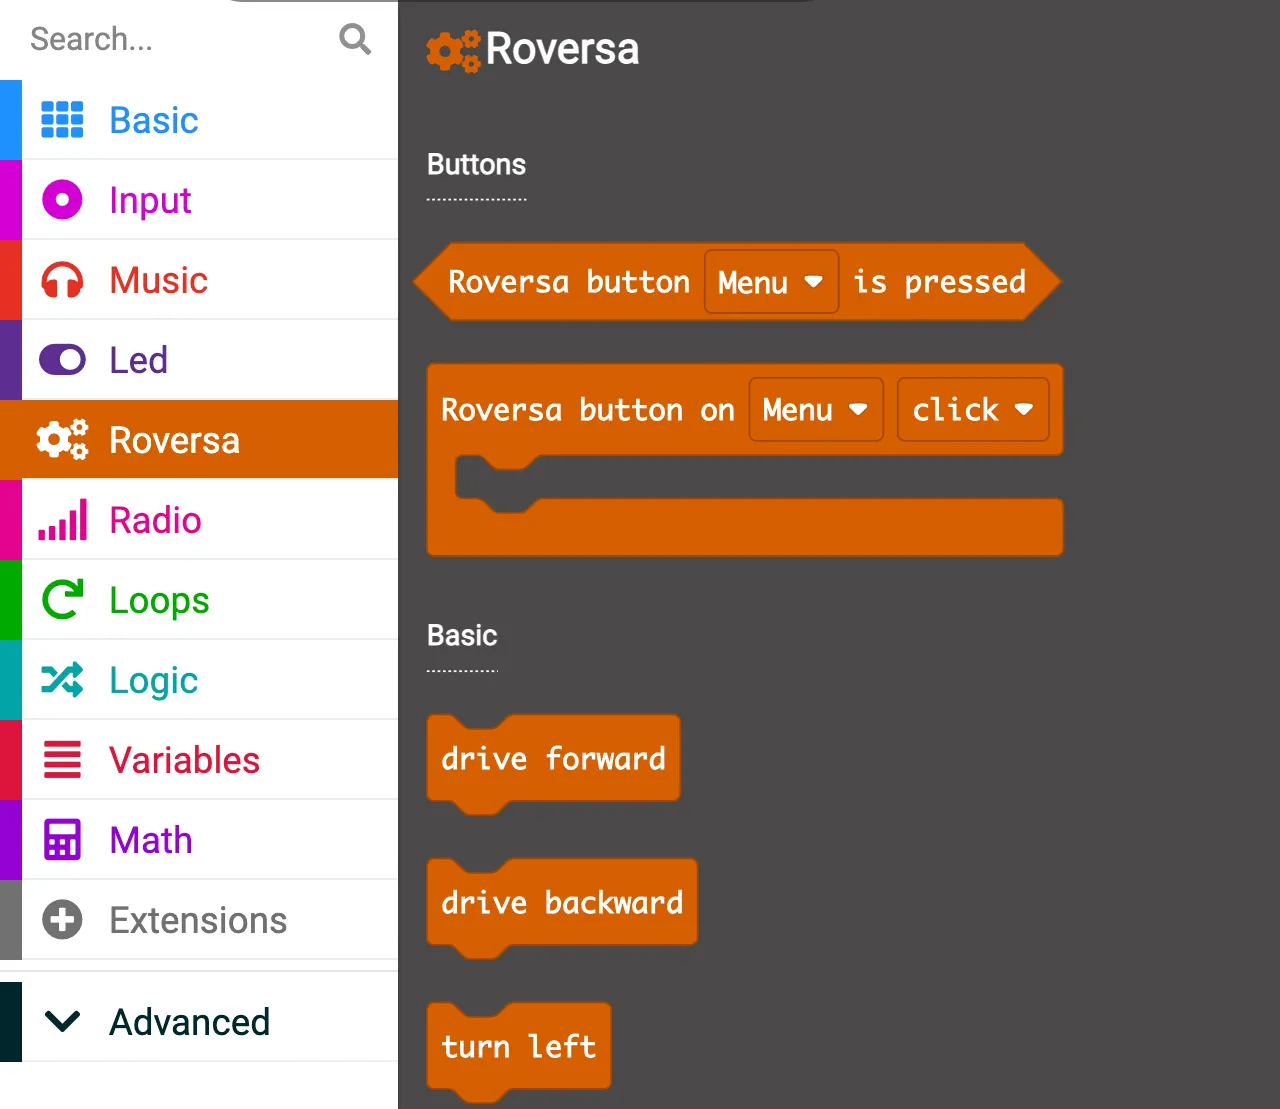
Button blocks
Use these blocks to reprogram the buttons on Roversa.
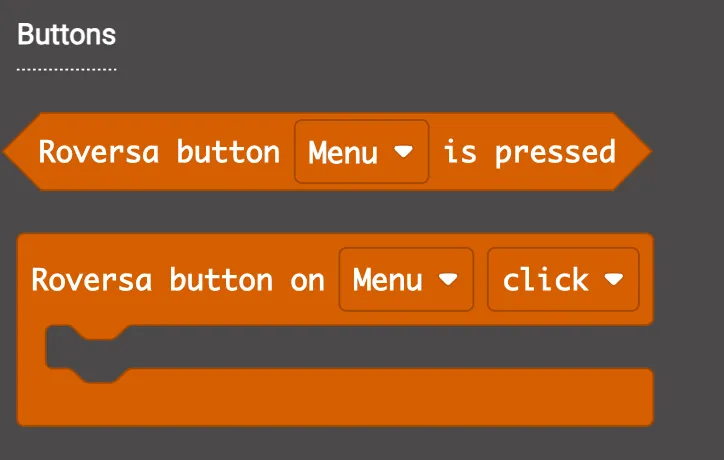
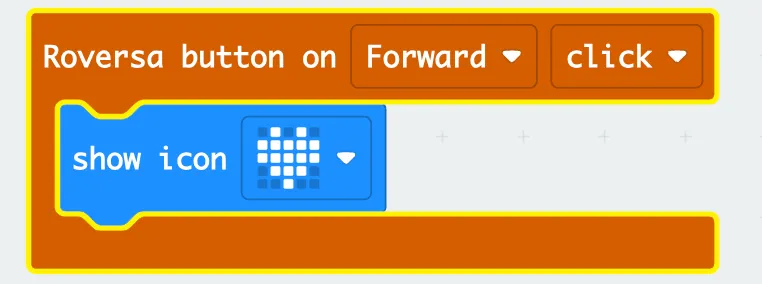
Button on
The LED screen updates when the Forward arrow button is clicked. Choose when the code runs:
- click: with a single click of the button
- down: when the button is pressed down
- up: after the button is pressed and comes back up
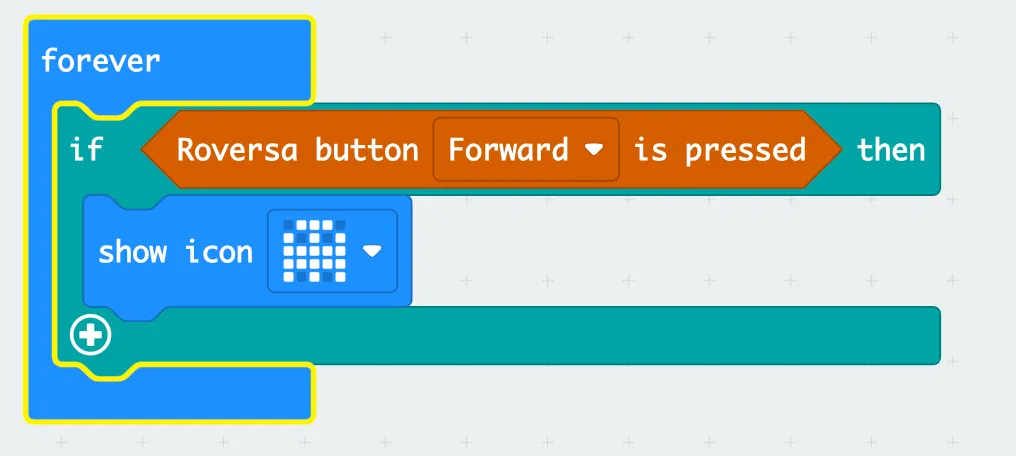
Is pressed
The LED screen updates if the Forward arrow button is pressed. Put conditional (if) blocks like this inside a forever loop, so the program keeps checking the button.
Servo blocks
There are two sets of blocks to control the servos: basic and advanced.
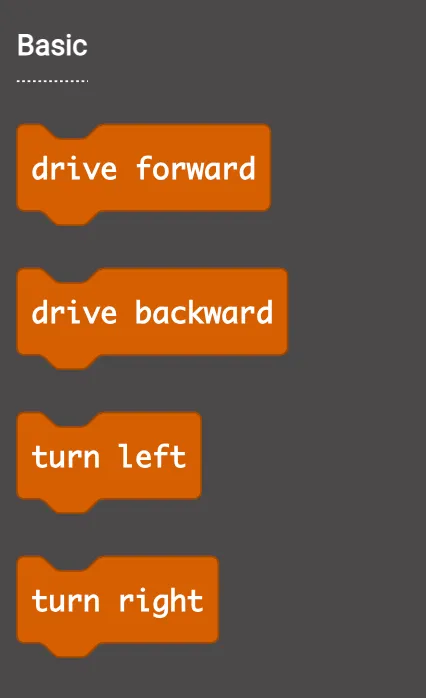
Basic
- drive forward: drives forward the default distance, then stops
- drive backward: drives backward the default distance, then stops
- turn right: turns right 90 degrees, then stops
- turn left: turns left 90 degrees, then stops
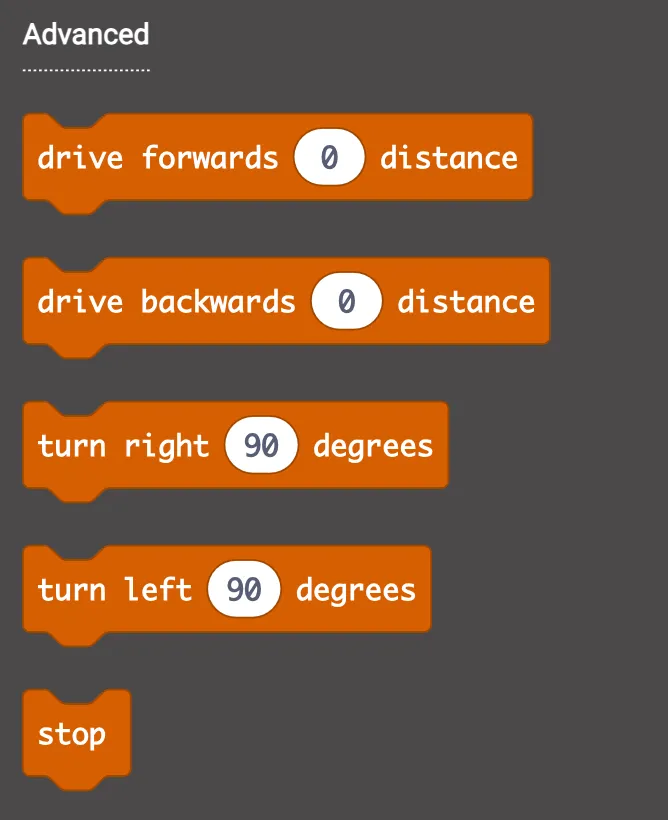
Advanced
- drive forwards: drives forward the distance you set (in millimeters), then stops
- drive backwards: drives backward the distance you set (in millimeters), then stops
- turn right: turns right the degrees you set, then stops
- turn left: turns left the degrees you set, then stops
- stop: stops the servos
Every Roversa is unique. If your Roversa is not moving as expected, you can tune it.
Loop example
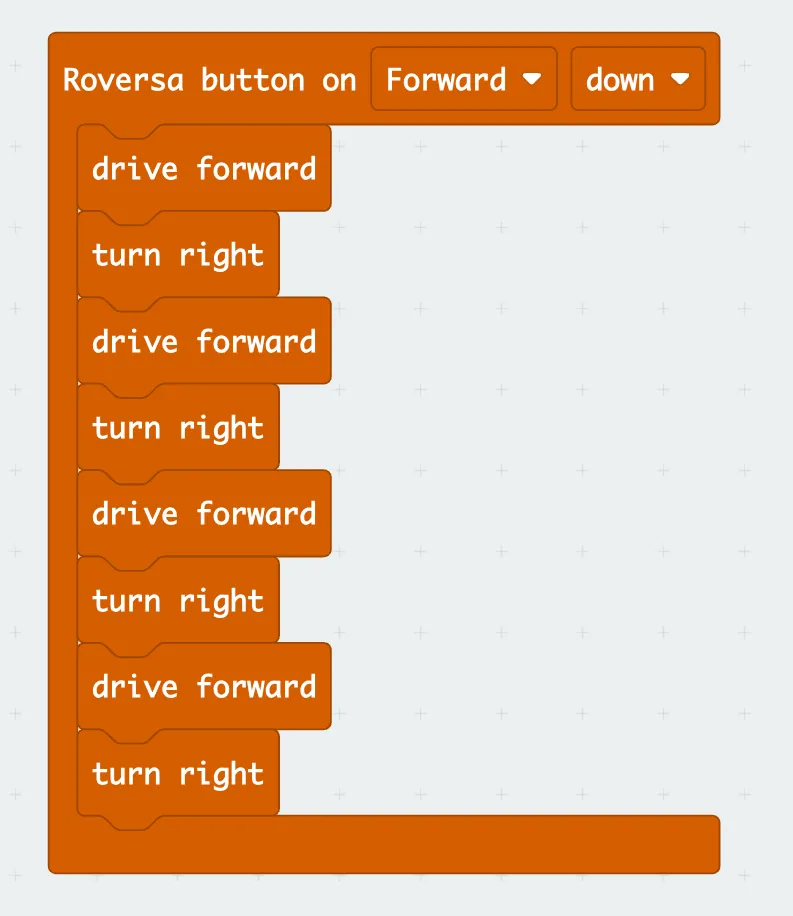
This code makes the Forward arrow button move Roversa in a square.
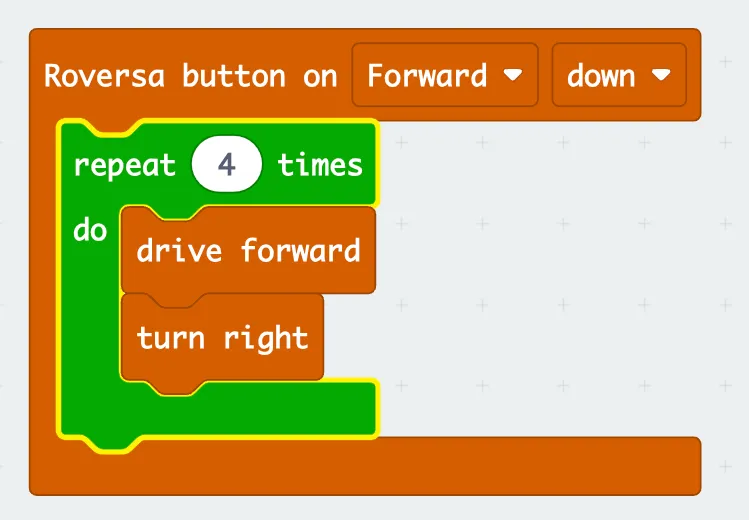
The repeat block does the same thing with fewer blocks: it loops “drive forward” and “turn right” four times.
Download your code
With Bluetooth
- Click the 3 dots (…) next to Download.
- Select Connect Device.
- Select Next.
- Select Pair.
- Click the micro:bit name in the list and select Connect.
- The file downloads onto the micro:bit. A light on the back of the micro:bit flashes while your code is downloading.
- The next time you click Download during this session, it remembers this connection.
As a file
- Select Download.
- Open the folders on your computer.
- Find the .HEX file in your Downloads folder.
- Drag the .HEX file to the MICROBIT drive. A light on the back of the micro:bit flashes while your code is downloading.
You can switch back to Standalone Mode from MakeCode Mode by downloading the Standalone Firmware onto the micro:bit. See the firmware directions.